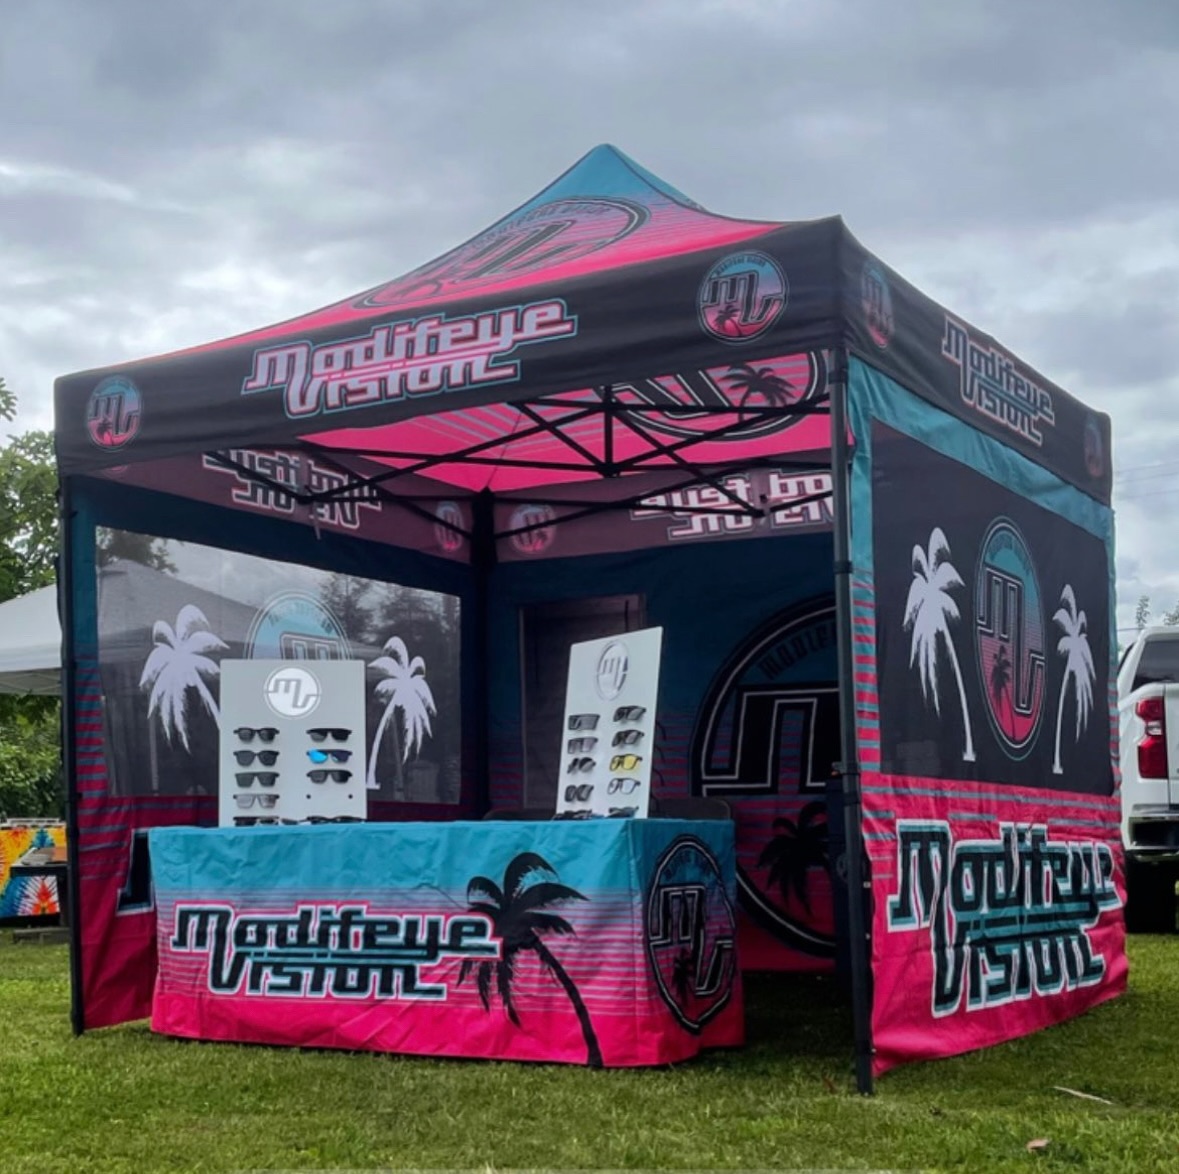
If your business relies on setting up a canopy tent at outdoor events like street fairs, farmers markets, music festivals, or community events, securing that canopy properly is not just good practice—it’s essential. Unsecured canopies pose serious risks to people, property, and your brand reputation. Worse yet, wind-related accidents can lead to fines, bans from events, or costly damage to your gear.
In this guide, we’ll walk you through the best practices for securing your canopy on different surfaces, including staking in grass and dirt, using weights on asphalt or concrete, and the importance of tying down from the top—not just weighing down the legs. You’ll also get a wind speed and weight guide to help you stay safe, compliant, and professional in any condition.
Why Proper Canopy Anchoring Matters
According to the National Weather Service, winds as low as 15–20 mph can start moving unsecured canopy tents. At 30+ mph, even moderately secured tents can become unstable or airborne. The consequences? A canopy blown into the crowd could injure someone. A damaged frame could cut short your day. And you risk liability if your setup causes harm.
Most event organizers require vendors to secure tents—but not all give adequate instructions. That’s why vendors need to understand anchoring fundamentals and come prepared.
Anchoring Methods: Staking vs. Weights
Staking Your Canopy (Grass, Dirt, Sand)
When allowed by event organizers, staking into the ground is one of the most secure ways to anchor a canopy. Whether it’s a park lawn, fairground, or beach, the goal is to drive stakes deep enough and at the correct angle to resist upward or lateral wind force.
Staking Tips:
- Use heavy-duty stakes at least 12″ long for grass or dirt, longer for sandy soil.
- Drive stakes at a 45-degree angle away from the tent leg for maximum hold.
- Use strong tie-down straps or ropes—not thin cords.
- Attach the strap to either the top corners of the canopy fabric (if reinforced tabs are present) or the upper frame inside the tent for superior stability.
- Consider screw-in or spiral stakes for loose or sandy soil.
✅ Bonus Tip: Even if the canopy feet are on soft ground, always stake from the top. Anchoring the canopy roof frame is more effective than just weighing or pinning the legs.
Using Weights on Concrete or Asphalt
When staking is not possible—on concrete, blacktop, or event flooring—you must rely on canopy weights. These are not optional in any wind. The question is not if, but how much weight you need and how it’s applied.
Most vendors place weights at the base of each canopy leg. While helpful, this setup has a critical flaw: wind can lift the canopy from the top and shake it like a sail, stressing the frame where the legs meet the top truss.
Best Practices for Using Weights:
- Use weights at the base of each leg, but don’t stop there.
- Secure from the top. Attach tie-down straps to canopy top tabs or upper frame crossbars and connect to weights placed on the ground. This counters the lifting force directly.
- Use at least 40–50 lbs per leg in moderate wind. More in gusty conditions (see chart below).
- Choose sandbags, water weights, steel plates, or concrete blocks made specifically for canopies.
- Secure the weights so they don’t swing or slide.
❌ Common Mistake: Relying solely on foot weights. Without upper anchoring, the canopy can sway violently or collapse inward from frame stress.
Why Top-Down Anchoring Is Crucial
Imagine holding a kite string from the middle instead of the bottom. The wind pulls from above—so should your anchoring. That’s why experts and top manufacturers recommend attaching tie straps to the upper corners of the canopy top or the horizontal upper truss bars inside the frame. From there, connect the strap to your weight on the ground or stake.
Benefits of Top-Down Anchoring:
- Significantly reduces stress on canopy joints.
- Prevents top fabric from billowing and lifting the frame.
- Minimizes movement that could cause wear or warping.
- Increases lifespan of your canopy investment.
Top-down anchoring paired with weight at the feet offers the best wind resistance without voiding your warranty or damaging the frame.
How Much Weight Do You Really Need? [Wind Speed Guide]
Different conditions require different anchoring levels. Here’s a quick reference chart:
| Wind Speed | Description | Recommended Weight | Action |
|---|---|---|---|
| 0–10 mph | Light breeze | 20–25 lbs per leg | Basic weights + top straps |
| 11–20 mph | Gentle to moderate breeze | 40–50 lbs per leg | Top-down tie straps mandatory |
| 21–30 mph | Windy, gusty | 60–75 lbs per leg | Cancel setup if not top-anchored |
| 31–35 mph | Strong gusts | 100+ lbs per leg | Dangerous—consider taking down |
| 36+ mph | Hazardous wind | Not safe to operate | Do not set up canopy |
These guidelines are based on vendor safety data and industry recommendations from major event organizers. Always monitor conditions. Wind gusts—not just steady wind—are the true hazard.
Additional Tips for Securing Your Canopy
1. Always Check the Forecast
Use weather apps with hourly wind projections. If gusts are expected to exceed 30 mph, reconsider setting up or plan for a quick takedown.
2. Use a Weighted Skirt or Sandbag Wrap
Some vendors add weight by wrapping sandbags or weight bags around the canopy’s midsection frame—adding downward force in addition to leg weights.
3. Don’t Let Water Pool on the Roof
Pooled water can stretch the fabric and add unwanted weight during wind events. Use center-pole lifters or tension straps to avoid sagging.
4. Double-Secure Banners and Backdrops
Branded backdrops and sidewalls catch wind like sails. Use multiple fasteners and tie these to the frame—not just the fabric.
5. Use Ratchet Straps, Not Bungee Cords
Ratchet straps offer consistent tension and won’t stretch or snap in strong wind. Invest in quality gear rated for outdoor use.
When to Take It Down
There’s no shame in packing up early if conditions become dangerous. In fact, many events have safety protocols requiring takedown if winds exceed 35 mph. If you notice:
- Legs lifting or shaking despite weights
- Excessive frame flexing or fabric flapping
- Flying debris around your area
…it’s time to start your breakdown. Remember: Safety first, sales second.
The Bottom Line
A professional-looking canopy setup is only half the equation—a secure canopy setup is what keeps your business safe and successful. Whether you’re staking into grass or weighing down on pavement, never assume that a tent will “probably be fine.” Proper anchoring from the top, paired with enough weight, ensures you’ll weather the wind—and protect your people, your gear, and your brand.
Summary Checklist
✅ Stake into ground at a 45-degree angle when permitted
✅ Use at least 40–50 lbs of weight per leg for moderate wind
✅ Always secure from the top: attach straps to upper frame or canopy top tabs
✅ Use ratchet straps and heavy-duty tie-downs
✅ Monitor wind forecasts and know your limits
✅ Remove canopy if winds exceed 35 mph or setup becomes unstable
Built for Wind. Built for You.
The right setup starts with the right equipment. Investing in a high-quality, reinforced canopy—one designed with wind safety in mind—makes it easier to follow these best practices and gives you peace of mind in unpredictable outdoor conditions.
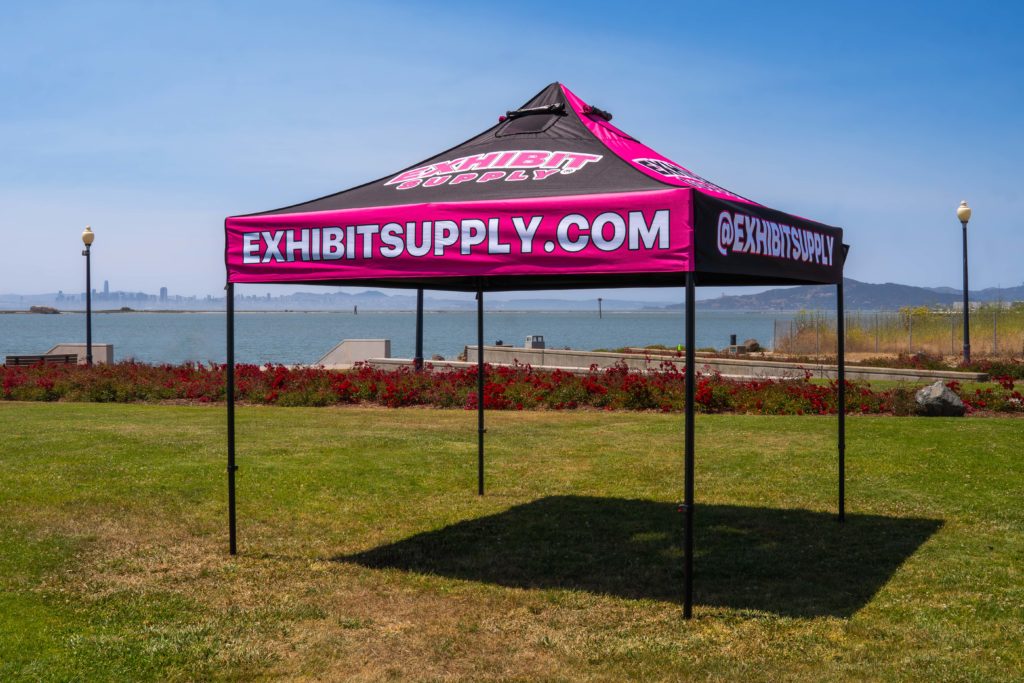
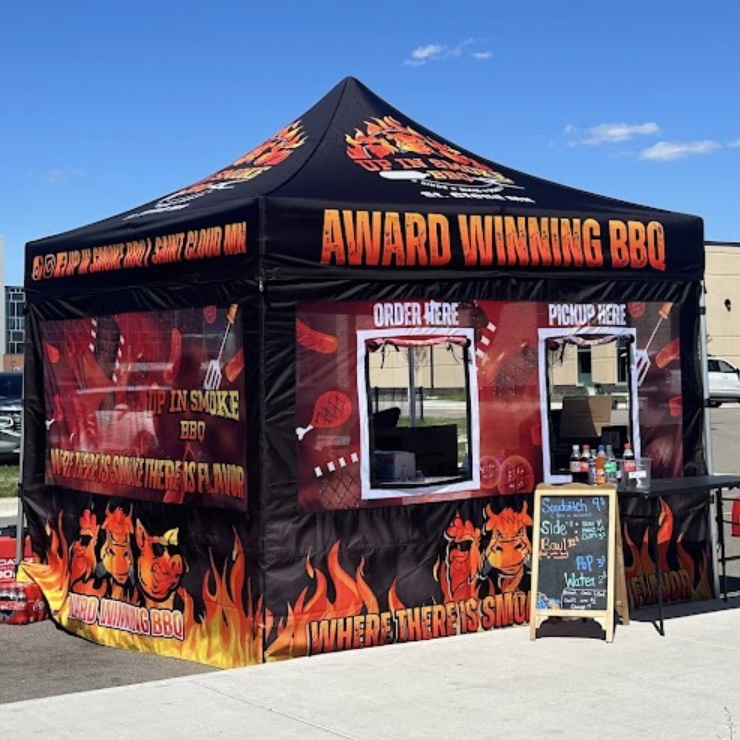
At Exhibit Supply, we specialize in custom printed canopies made for outdoor vendors, exhibitors, and food businesses that need to show up professionally and stay secure. Our canopies are designed with durability, wind resistance, and presentation in mind—whether you’re on grass, dirt, blacktop, or concrete.
We offer:
- Commercial-grade aluminum frames built for strength and longevity
- Reinforced canopy tops with tie-down tabs for safe anchoring
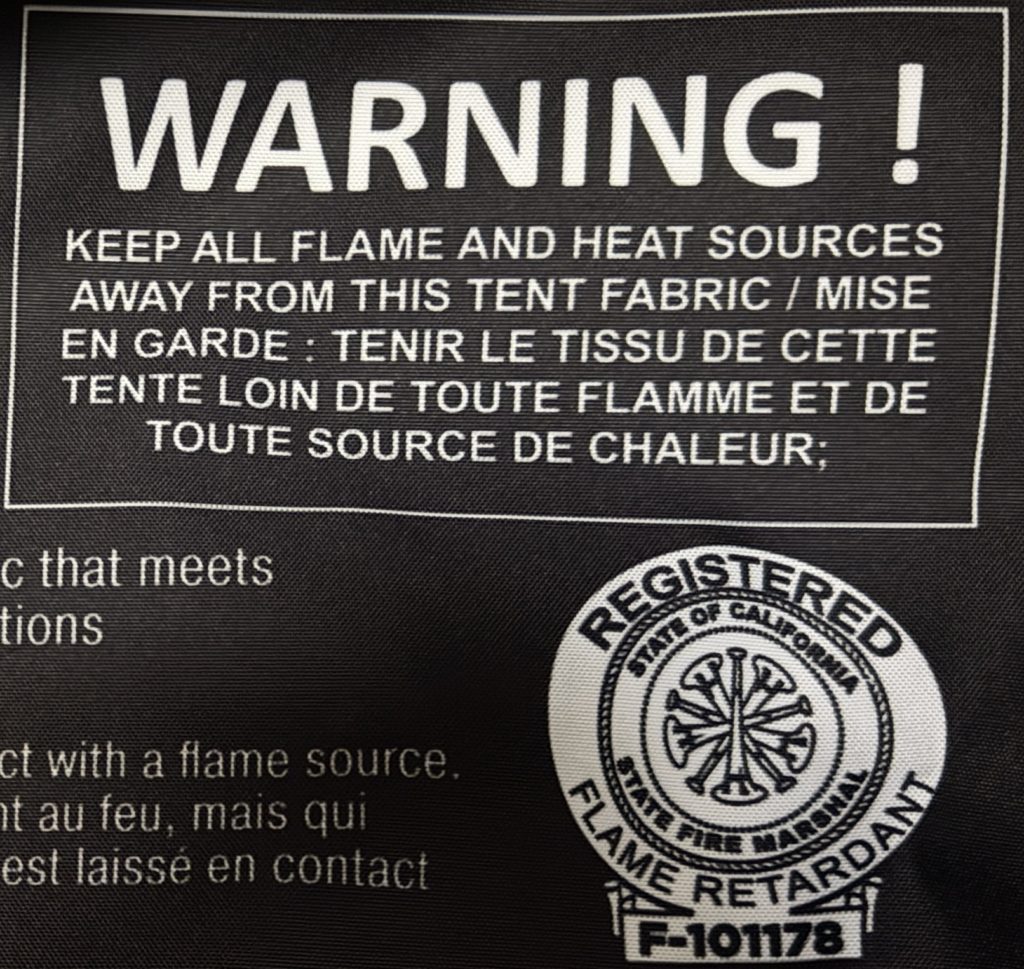
- Fire-certified, dye-sublimated full color printing
- Expert guidance to help you secure your booth properly
✅ Need help getting wind-ready for your next event?
Visit us at exhibitsupply.com or follow us on Instagram @exhibitsupply for inspiration, vendor tips, and event-ready gear.


